Fun Flowers Rose Tutorial
Debra Daam
debrasstamplife.blogspot.com
debradaam.stampinup.net
Here is the rose.

Here is the rose.

Using 4 cardstock pieces 5-1/2x8-1/2 put them through your Big Shot with the Bigz L Fun Flowers Die. You can only do 2 of these at a time. You will use 4 of the large flower, 3 of the middle one and 3 of the smallest.
Snip between each petal towards the center of each flower piece. Every size.

Spritz all of the largest size with water. Take one at a time and place them on a folded piece of paper towel. Using your round headed hammer starting in the center, press down and make circular motions cupping the flower.

Do this on each petal.

Every single one.

Take each petal and place one behind the other all the way around.

Squitch it all together.

Do this with all of the large and middle sizes. Do the same with the small but use a smaller rounded end such as a paint brush end.

If you want the center to be tight then with tweezers pull each petal around tighter.

Here is each flower curled and squitched.

Separate all sizes into the large, medium and small. Using Mono Multi Adhesive, glue the bottoms (one at a time) of the large and place one inside another, stacking them together. Then glue each bottom into the other on the medium size and the same with the small.
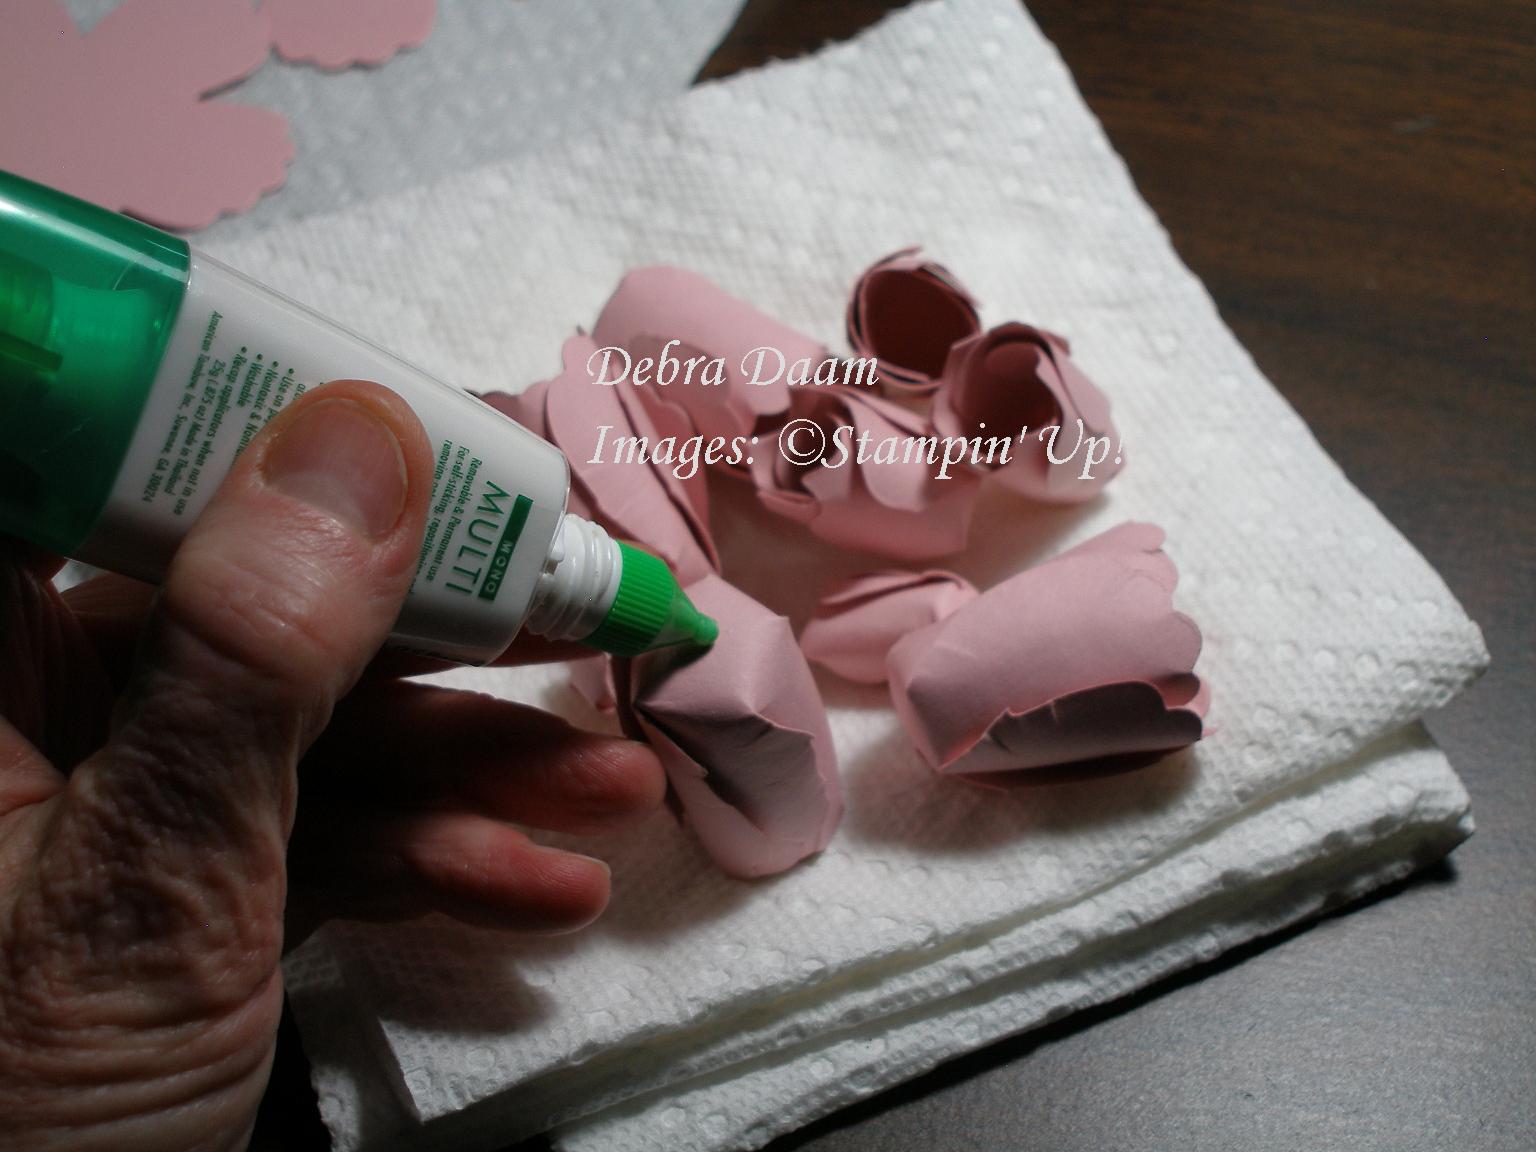
You will have what looks like this.

Then glue the middle size into the large and then the small into the middle of that.
There is your completed rose. You can squitch it tight or push down on the petals to make them relax and be more open.

You can also make smaller 'buds' by using just the middle and small size.
For leaves I use the Build a Blossom stamp set and then punch out with the Blossom Petals Builder Punch. I used the Simply Scored stylus to score the veins and make the leaves curve a bit.

For class, this is the final project.
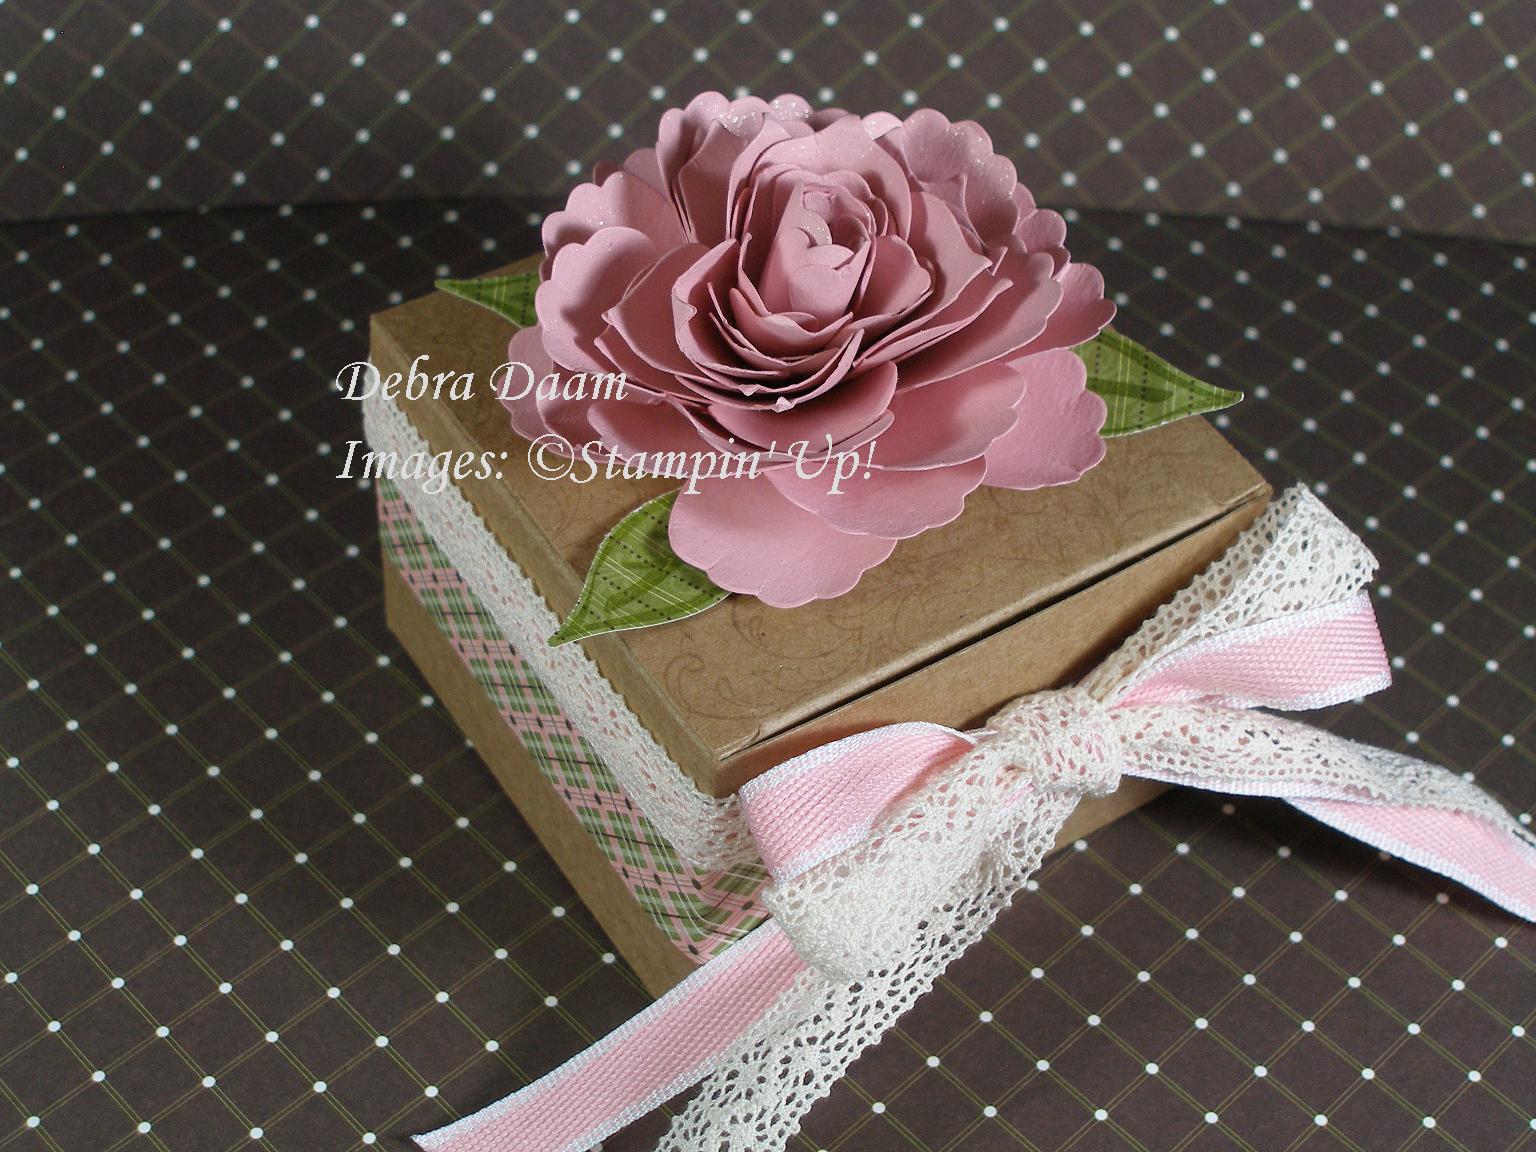
Here is another project using this technique.

Have a great day!


