Sunday, November 20, 2011

Two Tags Die Magnetic Bookmark Card

Two Tags Die Magnetic Bookmark Card

This was for class back in October.  The scalloped butterfly piece is the bookmark.

To make the base of the bookmark, take a piece of cardstock 2-1/2 x 8-1/2.  Score the 8-1/2 side at 4-1/4 and fold it.  Lay this piece on the Two Tags Die with the fold on the smaller scalloped tag with the folded edge lined up below the straight cut line.  Click on the picture and it will show it close up.

Embellish your bookmark as desired.
Cut 2 pieces of Stampin' Up!'s Magnetic Sheets.  For this I used 1 x 1 pieces.  Place both pieces together on the non-adhesive sides.  So that the adhesive is on the outside of the piece.  Take the adhesive off on one side and attach it to the inside scalloped area of your bookmark.  Take the adhesive off the other side and close your bookmark together.  Give it a good press.  BAM!  You have a magnetic bookmark.  Here is a side-ish view of the bookmark. 
The front view again.
I hope you like it!

Have a great day!

Wednesday, November 2, 2011

Did you know?!?!

Did you know that if you sign up with me to be a demonstrator that you will get a FREE Big Shot!?!??!  Yep, a FREE Big Shot.  This is only until November 11th, so if you have been wanting one you should click on my link to sign up.   http://www.stampinup.net/esuite/home/debradaam/jointhefun  There will be a join now button on the left. 
Or, if you have a Big Shot, you can get $100 in FREE product.  Pretty great deal if you ask me!!!

Plus, right now is a great time to be a Hostess!  You can get an additional $35 in FREE product.  http://www.stampinup.net/esuite/home/debradaam/promotions


Monday, October 24, 2011

Fun Flowers Rose Tutorial

Fun Flowers Rose Tutorial

Debra Daam
debrasstamplife.blogspot.com
debradaam.stampinup.net
Here is the rose.
Using 4 cardstock pieces 5-1/2x8-1/2 put them through your Big Shot with the Bigz L Fun Flowers Die.  You can only do 2 of these at a time.  You will use 4 of the large flower, 3 of the middle one and 3 of the smallest.
Snip between each petal towards the center of each flower piece.  Every size.
Spritz all of the largest size with water.  Take one at a time and place them on a folded piece of paper towel.  Using  your round headed hammer starting in the center, press down and make circular motions cupping the flower. 

Do this on each petal.
Every single one.
Take each petal and place one behind the other all the way around.

Squitch it all together.
Do this with all of the large and middle sizes.  Do the same with the small but use a smaller rounded end such as a paint brush end.

If you want the center to be tight then with tweezers pull each petal around tighter.

Here is each flower curled and squitched.
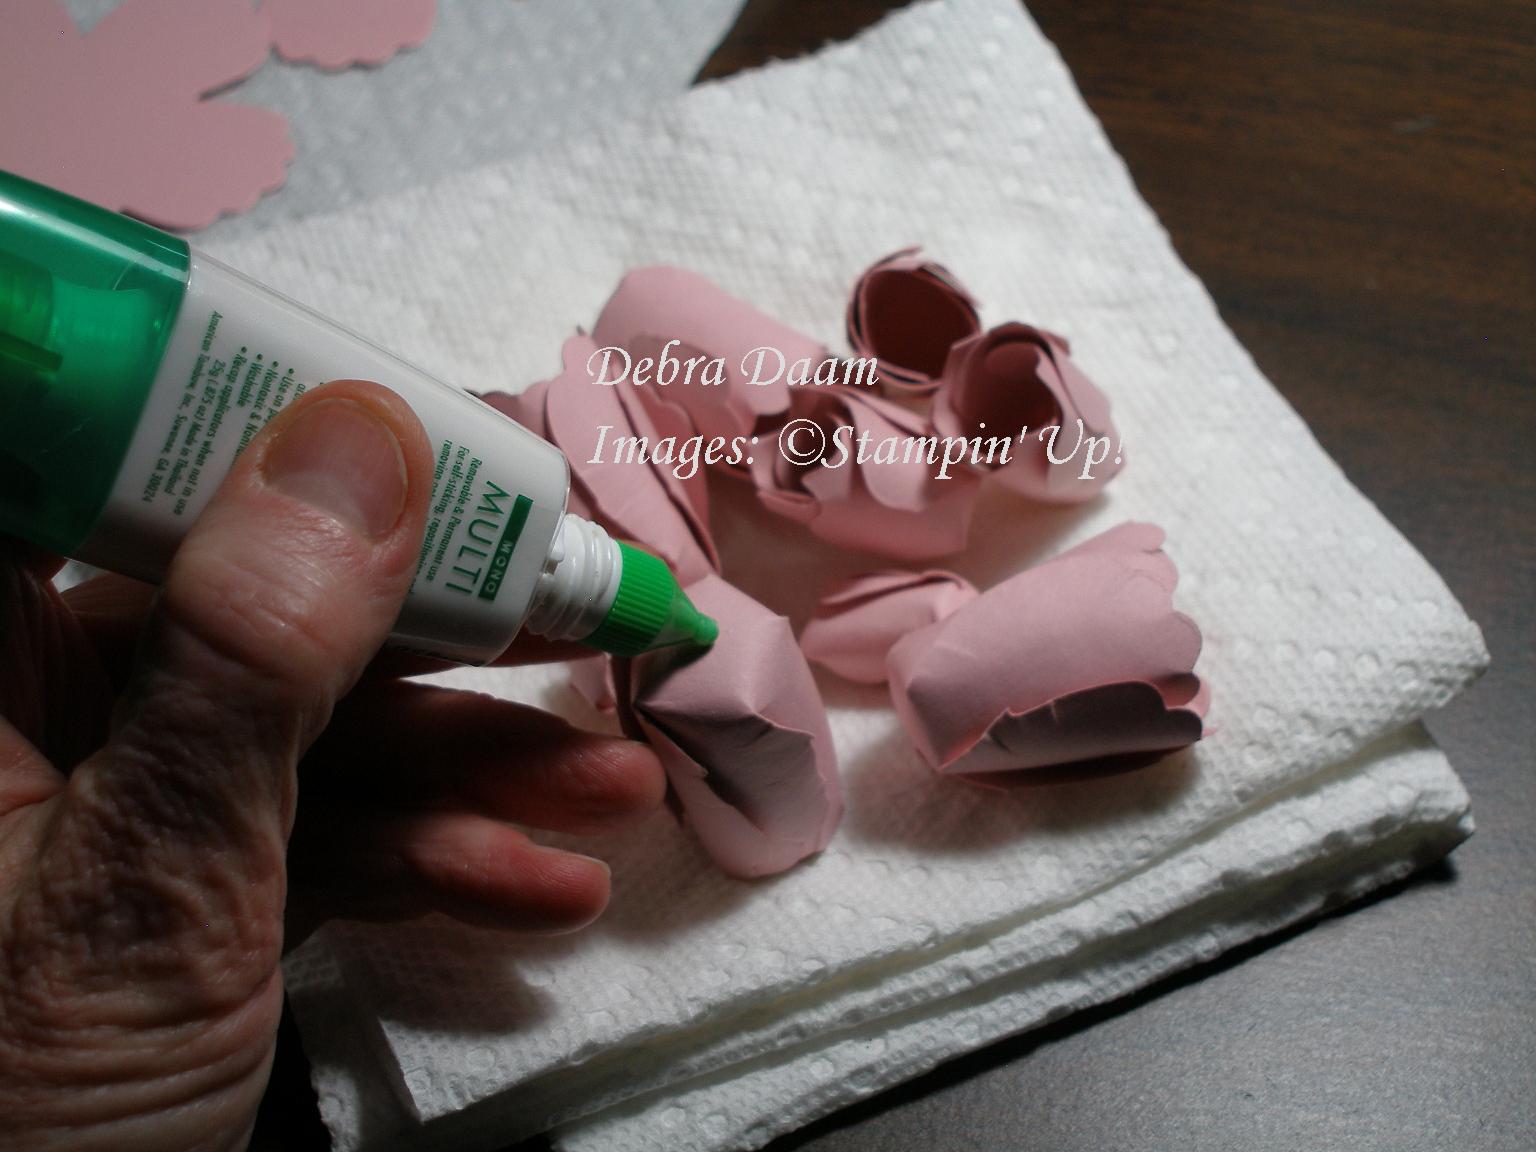
Separate all sizes into the large, medium and small.  Using Mono Multi Adhesive, glue the bottoms (one at a time) of the large and place one inside another, stacking them together.   Then glue each bottom into the other on the medium size and the same with the small.
You will have what looks like this.
Then glue the middle size into the large and then the small into the middle of that.
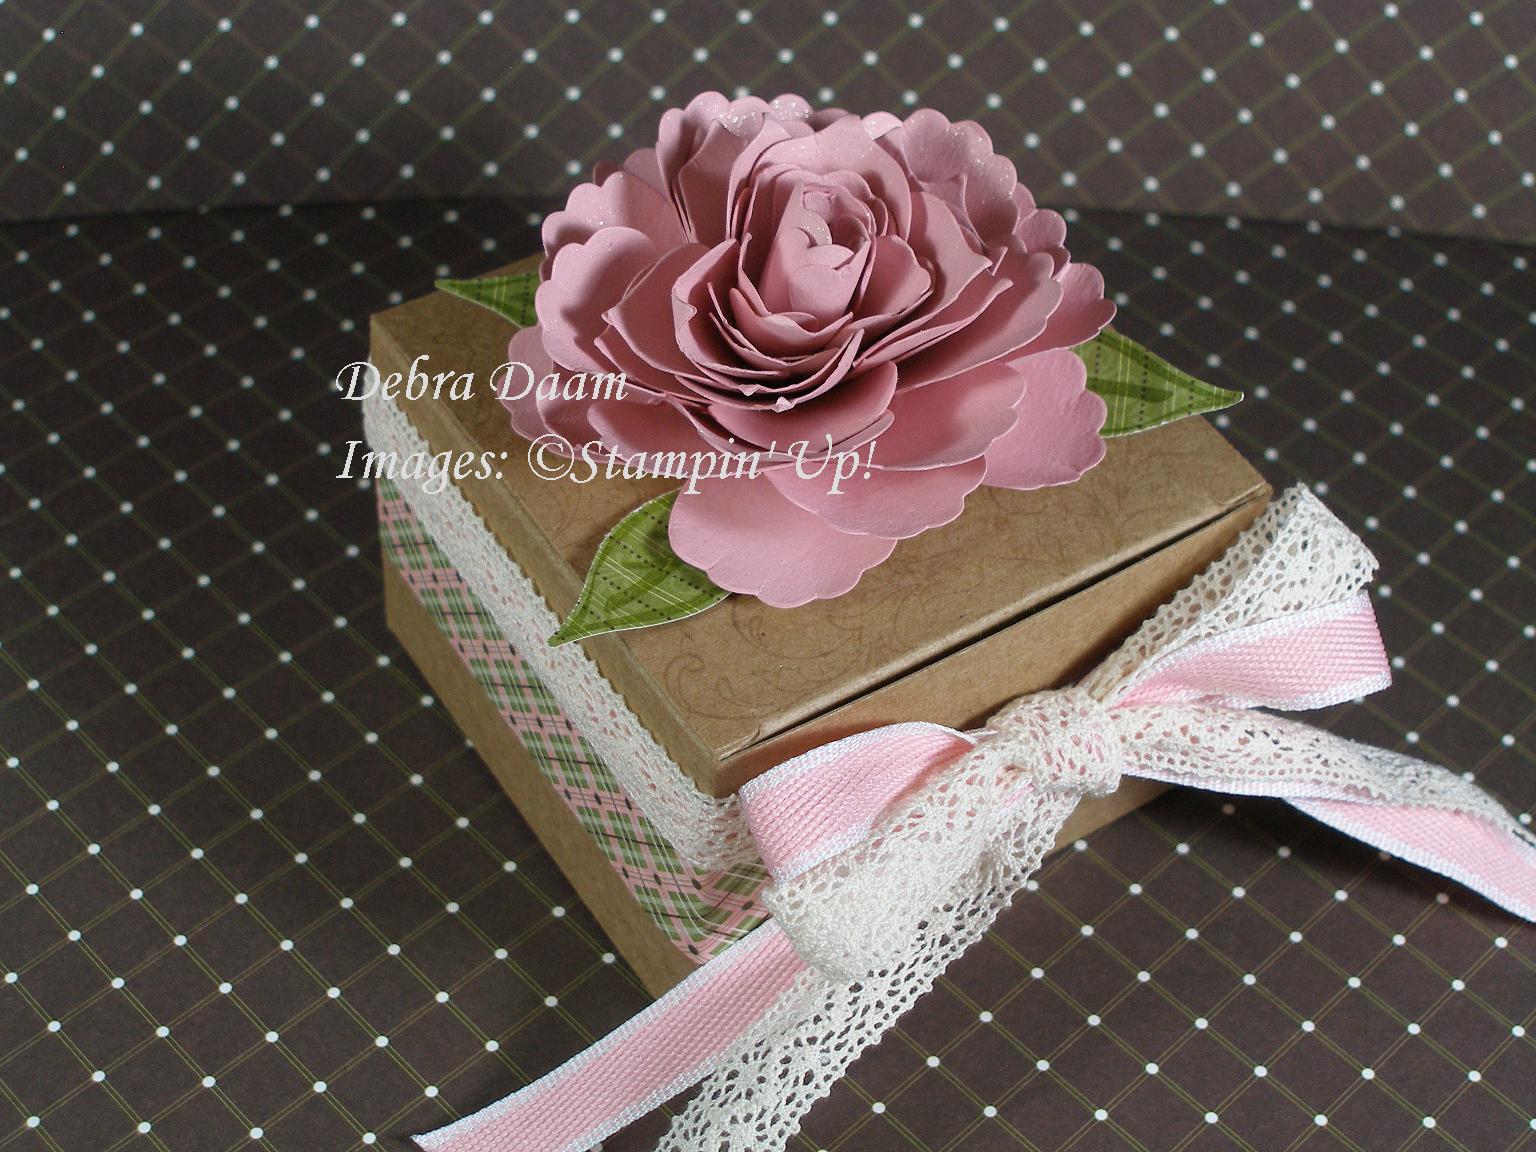
There is your completed rose.  You can squitch it tight or push down on the petals to make them relax and be more open.
You can also make smaller 'buds' by using just the middle and small size.

For leaves I use the Build a Blossom stamp set and then punch out with the Blossom Petals Builder Punch.  I used the Simply Scored stylus to score the veins and make the leaves curve a bit.

For class, this is the final project.


Here is another project using this technique.


Have a great day!

Wednesday, October 19, 2011

Two Tags Die Easel Card

We made this last month at club.  I found how to do this over on Bronwyn Eastley's blog http://addinktivedesigns.blogspot.com/2011/08/two-tags-die-easel-card-tutorial.html.  FABULOUS!  There are a lot of good ideas over there! 


Using a piece of cardstock 3-1/2 x 9, score at 4-1/2.  Fold along the score line.  Using the Two Tags Die, align the folded edge on the larger tag inside the straight end and run it through the Big Shot.  With another piece of cardstock, cut out a full tag.


On the folded base piece, fold the top back.
Embellish the single piece.  This is the front of the card.  Attach the top of the single piece to the top of the folded card base.  Embellish as desired.


Pretty cool, huh?  I just love it.

Have a great day!

Thursday, October 13, 2011

Whatchamacallits!

Fan Fold Flower, Rosette, Lolly, Medallion, Whatchamacallit!

One of my projects last month was to make a Fan Fold Flower, Rosette, Lolly, Medallion, Whatchamacallit!  This really is called all of these things.  ANYway,  they really are fun to make.  They can be fiddly to work with, but fun!  I even made one of my very first tutorials!  WOOOHOOO!!!

This is the final project.

Now for the tutorial.  This is what we are making.

Place your 1x12 piece to score onto the Simply Scored board.

Score at every 1/2 inch.

Flip your piece over and score at every 1/4 inch.

Accordian fold your scored paper.

Snip off one end at the first score line.

Sticky strip the ends together.  It will look like this.
Using a low temp glue gun, glue cardstock circles onto your 'whatchamacallit'.  I have tried other glues.  This is the easiest and longest holding way to make these.
There!  Now it is ready for a project!
Go make some!  They are fun!

Have a great day!

Friday, September 16, 2011

A Robin CASE!

My friend Robin has a GENIUS way to use the Scallop Square Clear Die to make cards.  So I decided to CASE it for my 10 for 20 tomorrow.  Here is Robins (About a Girl) that I CASEd.   And THEN, my friend Emma (Lady & the Stamp) did a wonderful tutorial on how to do this.  Here is my card.

I had to quick post this today because in looking at the challenges over on SCS, 'Mostly Blue' is the Free For All today!!!  WOOOHOO!!!
Now go make sure you check out my friend's blogs.

Have a great day!
Debra

Wednesday, September 14, 2011

Holiday Mini Swap

This is my card for Emma's Holiday Mini Swap.  I love the Gently Falling set and the Spice Cake Designer Series Paper.  Fall is my favorite time of year so these were on my list first thing.  This is a 2 Step stamp set.  You can stamp the solid image and then stamp the lined similar image over it.  Or you can use the images alone.  Regardless, a beautiful set.  This is the full card.
This is a close-up so that you can see the sparkle of the Dazzling Details better.
Stamp Sets:  Gently Falling, Fabulous Phrases
Ink:  Soft Suede, More Mustard, Cajun Craze, Pool Party, River Rock
Cardstock:  Spice Cake Designer Series Paper, River Rock, Pool Party, Naturals Ivory
Accessories:  Dazzling Details, Vintage Trinkets, Decorative Label Punch, Modern Label Punch, Word Window Punch, Victoria Crochet Trim, Pool Party Ruffled Ribbon, Soft Suede Taffeta Ribbon


Have a great day!  Debra